flutter 구글 로그인
파이어베이스 Authentication 을 이용해서 구글 로그인 기능을 사용했다.
구글 클라우드 프로젝트를 생성해서 하는 방법도 있는 듯하나, 파이어베이스를 이용하는 것이 매우 간단하고 편리하다.
1. 파이어베이스 플러터 프로젝트 생성
파이어베이스 콘솔에서 플러터로 프로젝트를 생성한다. 안드로이드와 IOS 둘 다 만들어진다.
2. 파이어베이스 Authentication 세팅
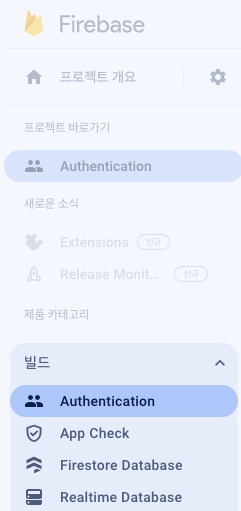
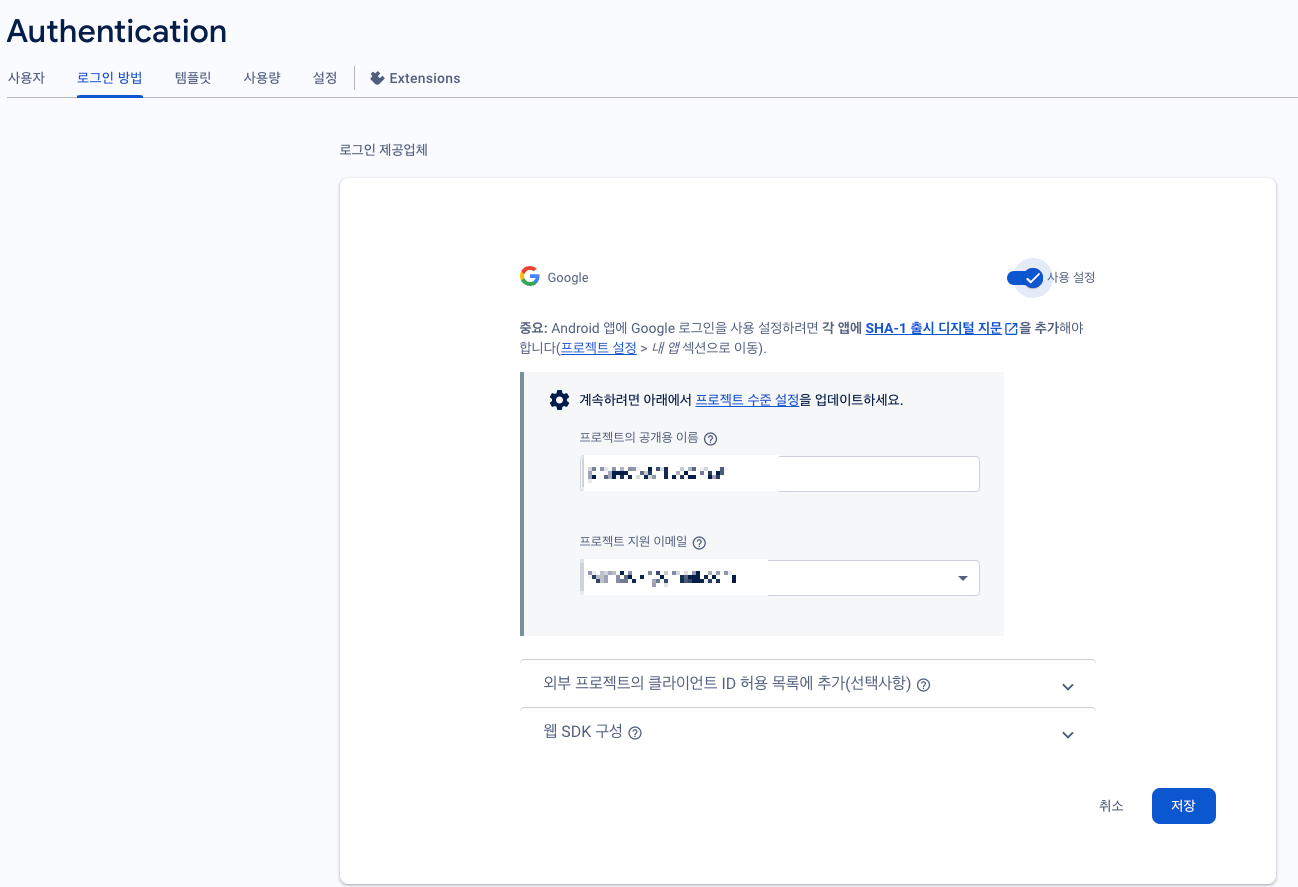
3. Authentication 생성
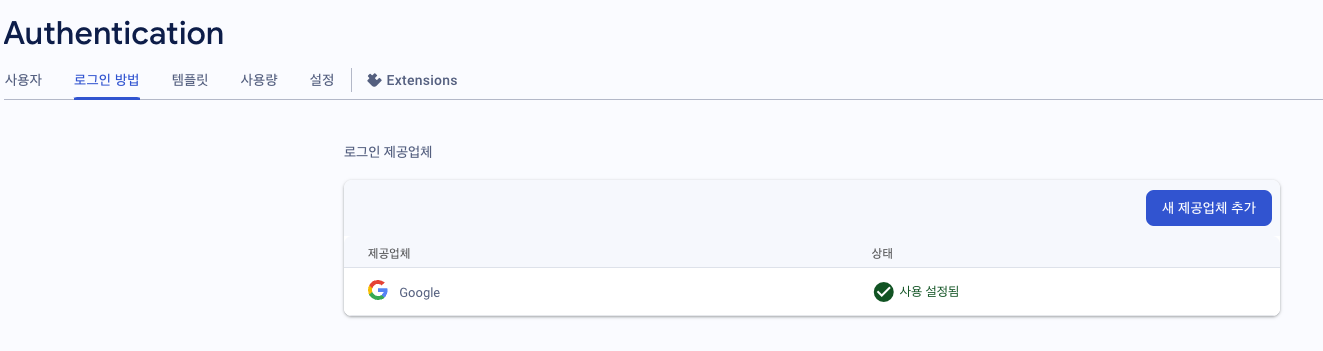
로그인 방법에서 구글을 선택하면 된다.
4. 파이어베이스 프로젝트에 SHA 인증서 지문 추가
keytool -list -v -keystore ~/.android/debug.keystore -alias androiddebugkey -storepass android -keypass android
위 명령어를 입력하면 아래와 같이 나오는데 SHA1 의 값을 복사해서
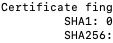
안드로이드 SDK 설정 및 구성의 하단 SHA 인증서 지문에 등록하면 된다.
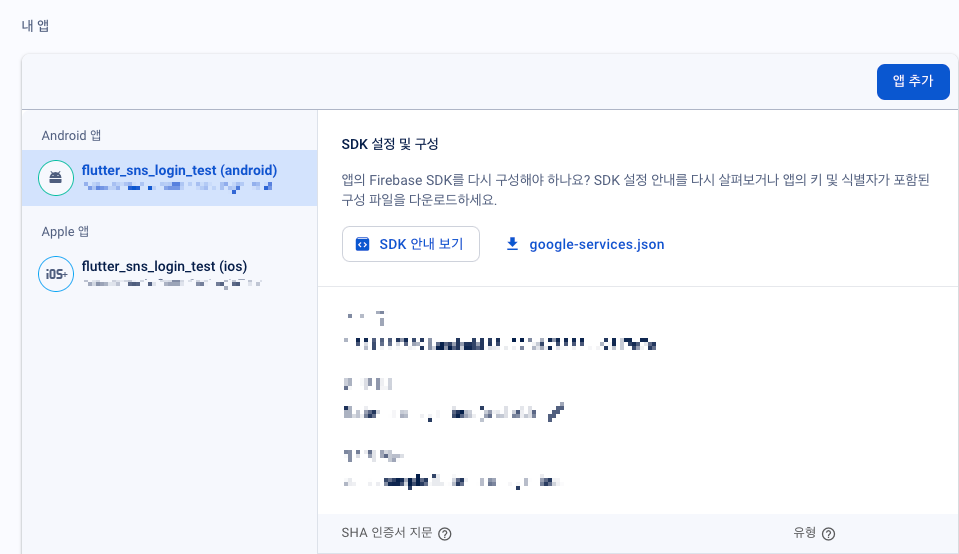
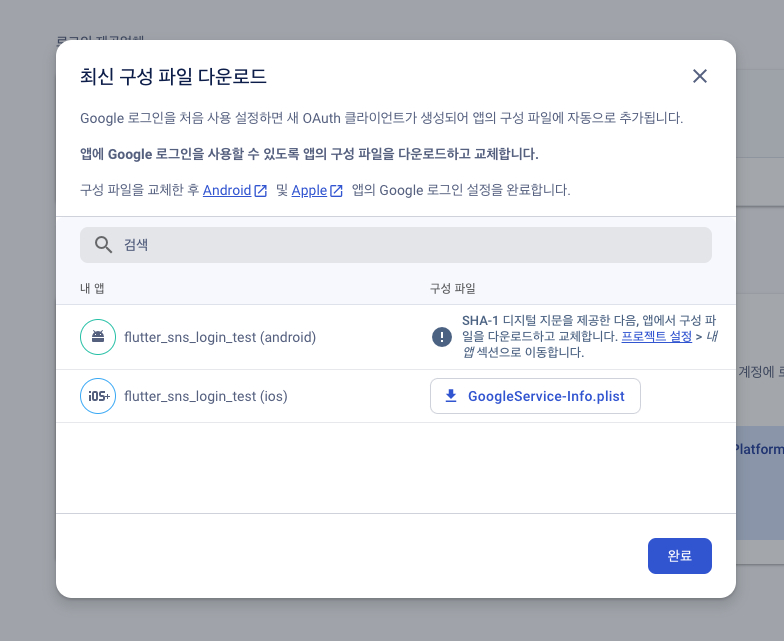
이후 google-services.json 파일을 다운로드하면 “oauth_client” 부분에 값이 추가된다.
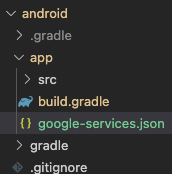
5. google-services.json 파일 넣기
android > app 경로에 위치
6. 라이브러리 설치
google_sign_in, firebase_auth
google_sign_in | Flutter package
Flutter plugin for Google Sign-In, a secure authentication system for signing in with a Google account.
pub.dev
firebase_auth | Flutter package
Flutter plugin for Firebase Auth, enabling authentication using passwords, phone numbers and identity providers like Google, Facebook and Twitter.
pub.dev
7. 플러터 코드 작성
Future<UserCredential> signInWithGoogle() async {
  // Trigger the authentication flow
  final GoogleSignInAccount? googleUser = await GoogleSignIn().signIn();

  // Obtain the auth details from the request
  final GoogleSignInAuthentication? googleAuth = await googleUser?.authentication;

  // Create a new credential
  final credential = GoogleAuthProvider.credential(
    accessToken: googleAuth?.accessToken,
    idToken: googleAuth?.idToken,
  );

  // Once signed in, return the UserCredential
  return await FirebaseAuth.instance.signInWithCredential(credential);
}
* 카카오 로그인의 User 모델과 구글 로그인 User 모델의 이름이 같으니 주의해야 한다.
* Execution failed for task ':app:mapDebugSourceSetPaths' 이슈
android > build.gradle 수정
 dependencies {
    classpath 'com.android.tools.build:gradle:7.3.0'
    // START: FlutterFire Configuration
    classpath 'com.google.gms:google-services:4.3.14' // 4.3.10 부분을 -> 4.3.14 로 변경
    // END: FlutterFire Configuration
    classpath "org.jetbrains.kotlin:kotlin-gradle-plugin:$kotlin_version"
}
+ 추가
IOS에서 구글 로그인을 할 경우 clientID를 넣어줘야 한다.
아래 내용을 따라하면 된다.
google_sign_in_ios | Flutter package
iOS implementation of the google_sign_in plugin.
pub.dev
GoogleService-Info.plist의 CLIENT_ID와 REVERSED_CLIENT_ID가 필요하다.
1. CLIENT_ID를 Info.plist에 아래 부분처럼 추가해준다.
<key>GIDClientID</key>
<!-- TODO Replace this value: -->
<!-- Copied from GoogleService-Info.plist key CLIENT_ID -->
<string>[YOUR IOS CLIENT ID]</string>
2 아래 부분처럼 REVERSED_CLIENT_ID를 Info.plist에 추가해준다.
<!-- Put me in the [my_project]/ios/Runner/Info.plist file -->
<!-- Google Sign-in Section -->
<key>CFBundleURLTypes</key>
<array>
	<dict>
		<key>CFBundleTypeRole</key>
		<string>Editor</string>
		<key>CFBundleURLSchemes</key>
		<array>
			<!-- TODO Replace this value: -->
			<!-- Copied from GoogleService-Info.plist key REVERSED_CLIENT_ID -->
			<string>com.googleusercontent.apps.861823949799-vc35cprkp249096uujjn0vvnmcvjppkn</string>
		</array>
	</dict>
</array>
<!-- End of the Google Sign-in Section -->
3. Info.plist에 GIDClientID를 추가하지 않고 아래 처럼 코드안에 clientId를 넣어줘도 된다.
final GoogleSignIn googleSignIn = GoogleSignIn(
  // The OAuth client id of your app. This is required.
  clientId: 'Your Client ID',
);